This post may contain affiliate links. Please read our disclosure policy.
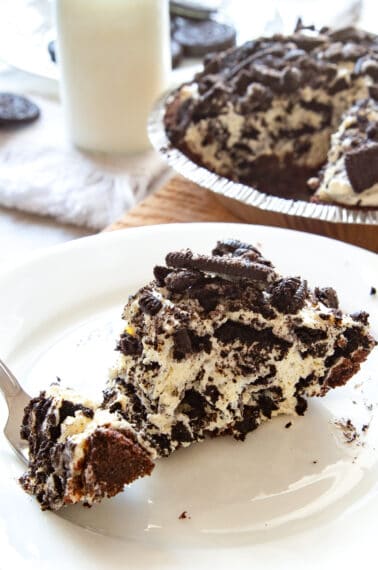
Oreo Pie is a crowd-pleasing, family favorite dessert that is perfect for any occasion! Made with classic no-bake cheesecake ingredients like Cool Whip and cream cheese and mixed with Oreo cookie crumbles, this easy treat will not disappoint.

An All Things Mamma Favorite!
This Oreo pie recipe is a favorite here on All Things Mamma, where Oreo dessert recipes reign supreme! Readers love my Peppermint Oreo Balls, Oreo Truffles With Cream Cheese, Oreo Dirt Pie, Oreo Poke Cake, No-Bake Oreo Cheesecake, Oreo Fluff Dessert, and this viral TikTok Oreo Mug Cake, but this easy peasy pie always ranks at the top year after year.
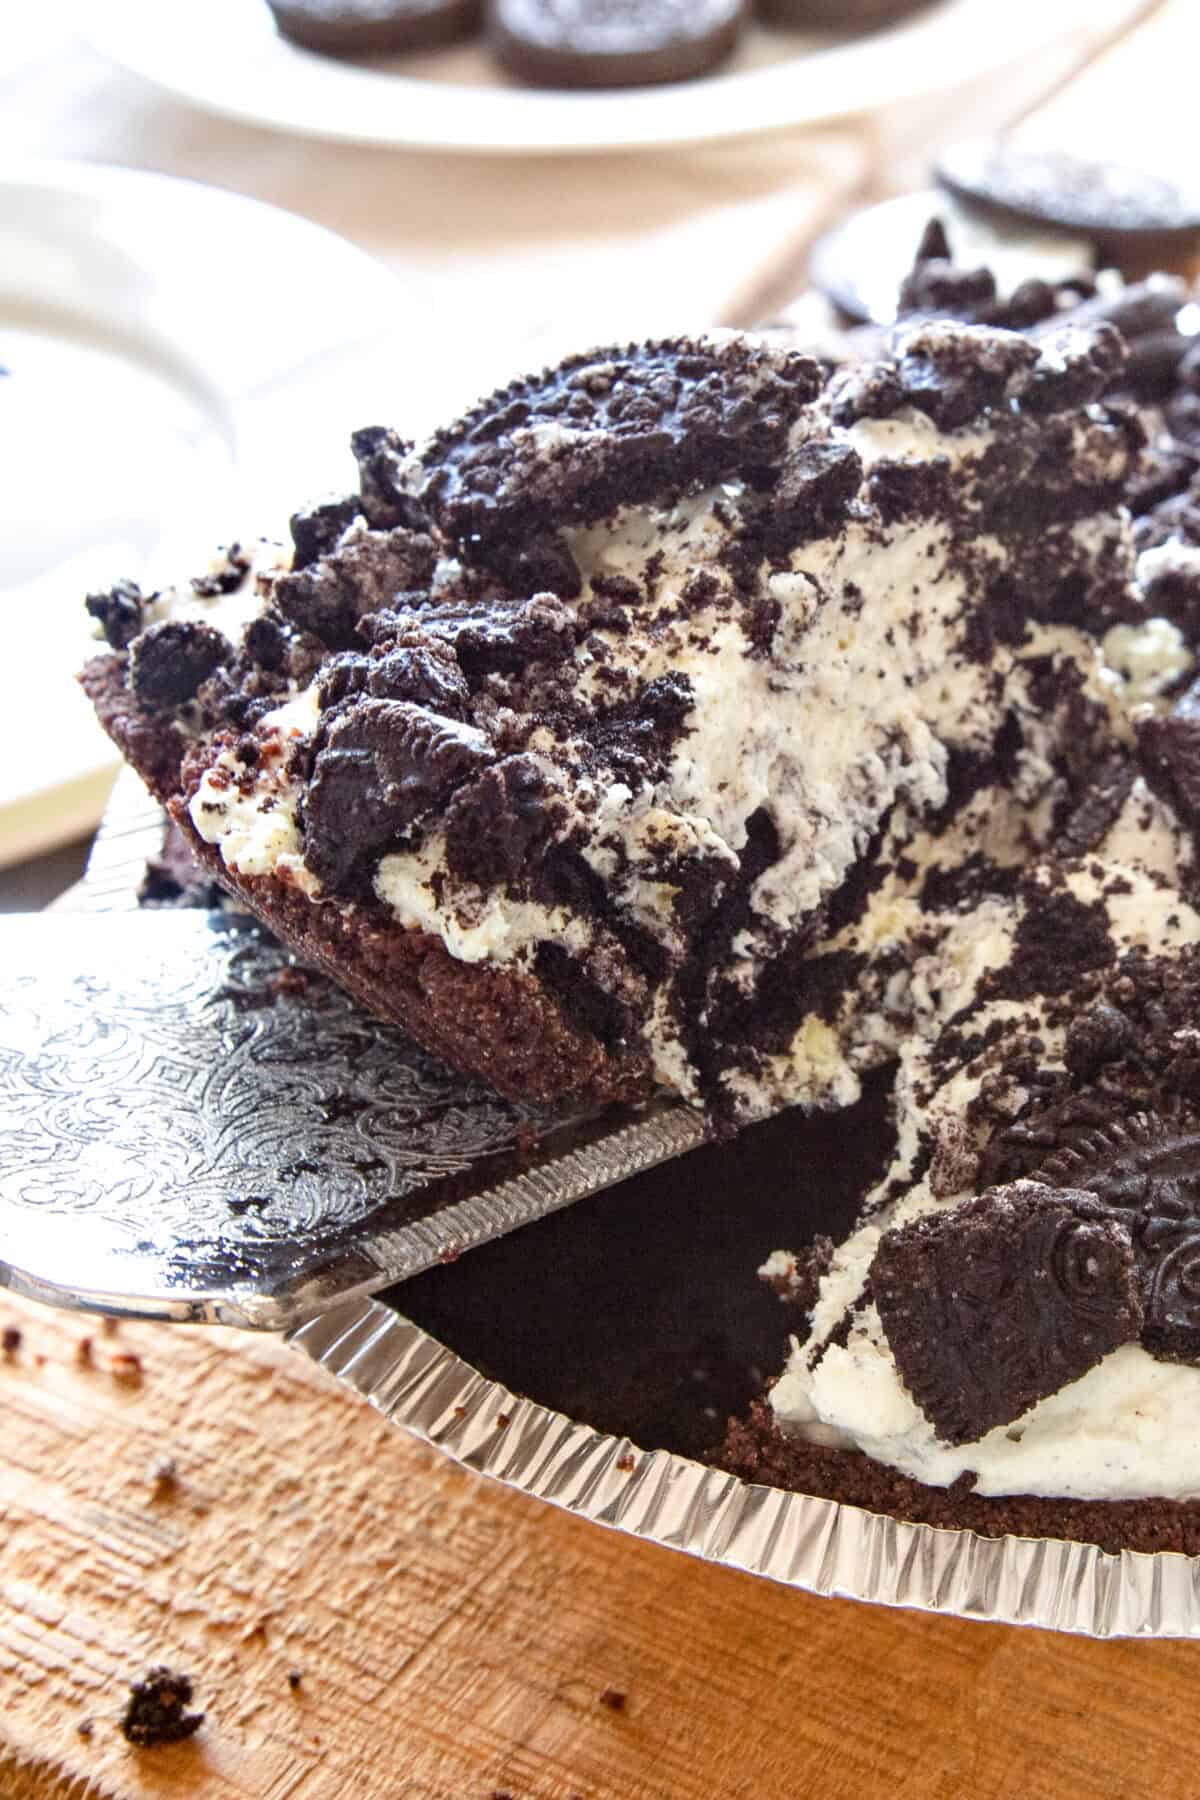
You can either buy an Oreo pie crust at the grocery store or make your own from scratch by using crushed Oreos and melted butter. Then, simply combine the ingredients into the pie filling and let it chill—that’s it! Super easy and no baking required.

My Best Tips for a Delicious Oreo Pie
- Careful when crushing! Make sure not to overload the plastic bag when crushing the Oreos—too many can cause the bag to break and make a mess.
- Fold, don’t mix. It’s important to fold in the whipped topping and Oreos—not whisk or mix—to preserve some of the air in the pie filling. Too much mixing will lead to a very flat, runny pie.
- More chocolate. If you’re really a super chocolate fan, putting some shaved dark chocolate flakes to the pie filling mixture or even as a garnish on top.
- Be patient and chill. Don’t rush the process—let your pie chill at least a few hours, as many as you can afford. I like to make Oreo pie the day before and allow it to chill overnight. The last thing you want is to slice into your delicious dessert and have the filling run all over the place.
Variations
- Use a fun Oreo variety. You can use Golden Oreos, peanut butter, mint, or whatever new flavors they have at the store. Go wild!
- Or use another kind of cookie. No, you don’t have to stick with Oreos! Any cookies you like will work in this recipe, although I do recommend using an Oreo or graham cracker crust.
- Top it with a drizzle. Sometimes I make a batch of chocolate ganache to drizzle over the top of the Oreo pie before serving. Store-bought hot fudge would work well too!
How to Store
Oreo pie is great for making ahead! Simply prepare the recipe and then instead of chilling it in the fridge, cover and put the pie in the freezer. When you’re ready to enjoy your Oreo pie, simply allow it to thaw in the refrigerator before serving.
If you have leftovers, they will last in the fridge for 2-4 days. Simply cover the remaining pie with plastic wrap.
Oreo Pie
Ingredients
- 1 package Oreos crushed
- 8 oz cream cheese softened
- 4 oz instant vanilla pudding
- 3/4 cup milk
- 8 oz Cool Whip thawed
- 1 Oreo pie crust (store-bought is fine)
Instructions
- Start by crushing the Oreo cookies by hand or place them in a ziplock bag and hit with a rolling pin.1 package Oreos
- In a large bowl beat the cream cheese and instant pudding until mixed well. Add the milk and mix well again.4 oz instant vanilla pudding, 8 oz cream cheese, 3/4 cup milk
- Fold in the whipped topping.8 oz Cool Whip
- Next, fold in half of the Oreos and mix gently.
- Spoon the filling into the pie crust.1 Oreo pie crust
- Top with remaining Oreos and chill in the fridge for at least 2-3 hours before serving.
Video
Nutrition
More Delicious No-Bake Pie Recipes to Try
- When fall rolls around, my family always asks me to make this No Bake Pumpkin Pie recipe. It’s such a fun twist on the classic!
- No Bake Cherry Cheesecake is easy as can be, with a jammy cherry filling that reminds me of summer.
- Peanut lovers will flip for this simple No Bake Peanut Butter Pie recipe!
- Can’t get enough Oreos? Try my No-Bake Oreo Dessert too.


This is really good! I made it for Thanksgiving. I ended up having enough pie filling for two pies!
GREAT! I am happy to hear this!!
Hi there. This pie looks delicious and I’d like to make it but where does the milk fit in? It’s in the ingredients but not the directions:p
The milk is in step 2